In this part three of series Agar Agar in Dentistry we will learn about different Impression techniques of Agar-Agar, its Advantages and Disadvantages
In Part One post we learnt about Hydrocolloids, Sol-Gel Transformation, Uses of Agar – Agar in Dentistry, Composition, Commercial Brands, Supplied As, Preparation and Types of Agar. If you haven’t read that, we suggest you read that first by clicking https://dentalpockets.com/blog/agar-agar-in-dentistry/
In Part Two post we learnt Manipulation of Agar, Conditioning Unit and Properties of Agar. If you haven’t read that, we suggest you read that first by clicking https://dentalpockets.com/blog/manipulation-agar-agar-in-dentistry-part-2/
Impression Techniques of Agar
Full Arch Impression
Sectional Arch Impression
Sectional arch impression follows same procedure as for full arch. Selected tray should cover the tooth and its adjacent two or more teeth.
Indication
Working model for inlay preparation
Single or more teeth preparation
Techniques
Laminate Agar Impression Technique [Schwartz – 1951]
It is a modified procedure using both reversible and irreversible hydrocolloid. Tray hydrocolloid is replaced with a mix of chilled alginate that bonds syringe agar. Alginate sets by chemical reaction whereas agar by temperature change.
The equipment needed for taking an agar impression can be minimized by use of an agar-alginate, syringe- tray combination impression.
In this procedure a syringe type of agar in a cartridge is heated in boiling water for 6 minutes and stored in a 65’c water bath 10 minutes before use.
The tray alginate of the regular set type is mixed with 10% more water than normally recommended and it is placed in a tray.
The agar is injected around the preparation and the mixed alginate is promptly seated on top of the agar. The alginate sets in about 3 mins, and the agar gels within this time as a result of being cooled by the alginate.
During the setting of the alginate and gelling of the agar a bond forms between them. The impression may be removed in about 4 minutes.
Since the hydrocolloid, not the alginate, is in contact with the prepared teeth, maximum detail will be reproduced.
They bond together better than others, with tensile bond strengths ranging from 600 to 1100gm/cm2.
Values at the high end of the range resulted in cohesive failure of the agar, where as those at the low end produced adhesive failure between the agar and the alginate. It is therefore advisable to follow the manufacturer’s suggestions for appropriate combinations.
Advantages
Agar provides tissues details and solidifies when it comes in contact with alginate prepared in water at 70°F, Preventing rapid gelation.
The elimination of water-cooled impression trays.
Agar is more compatible with gypsum model materials than alginates.
The accuracy is acceptable.
Economical and simple.
Liquification and storage of agar not required
Decreased setting time (3minute).
Wet Field Agar Impression Technique
In this, tooth surfaces are purposely left wet and areas are actually flooded with warm water.
The syringe material is introduced quickly, liberally and in bulk to cover occlusal / incisal areas only.
While the syringe material is still liquid, tray material is seated, the hydraulic pressure of the viscous tray material forces the syringe material into areas to be restored.
This motion displaces the syringe material, blood and debris throughout the sulcus.
Advantages of Agar
Helps in preparing dies accurately.
Good elastic property and reproduces most undercut areas.
Good recovery from distortion.
Non hydrophobic.
Palatable and well tolerated.
Cheap.
Can be reused.
Disadvantages of Agar
Does not flow properly.
Cannot be electroplated.
Due to heat , it may be painful.
Tears relatively easily.
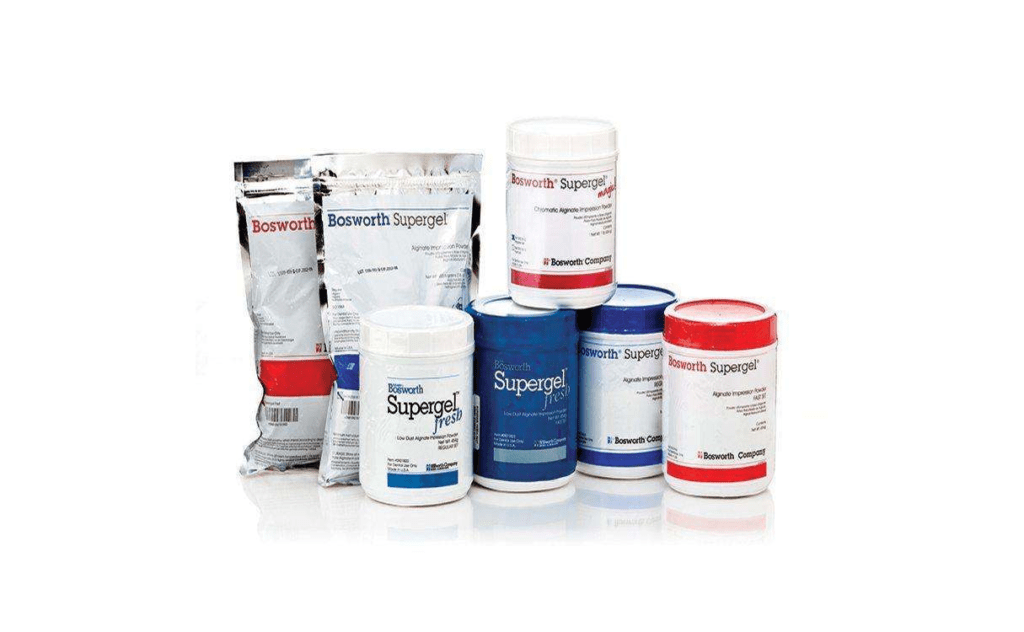
To buy premium agar visit https://dental.keystoneindustries.com/product/supergel-alginate-impression-material/


